
Rose Chocolate

Did you know you can use essential oils in your cooking?
I sure didn’t!
I’ve got several friends who are pro-chocolate makers and I’ve picked up a few tips from them along the way.
But using essential oils -- that’s a new one!
I was flipping through a cookbook that my friend, Kate, lent me and thought, it’s about time I try making my own chocolate.
I found a recipe for rose chocolate and decided to make it myself.
This is not my own recipe, this rose chocolate concoction is fully inspired by The Raw Kitchen, and it’s daaaamn good!
Olivia Scott of The Raw Kitchen suggested using essential oils to enhance the flavors of your food in really unique ways.
When I read about using rose oil for her chocolate recipe, I was so stoked to try it out.
Just to let you know, you cannot use ALL essential oils in your cooking -- just some of them. Make sure you do your research before dousing your food with them as they’re not all edible!
To make sure I got the right essential oil, I went into the local health store and spoke to a very knowledgeable woman in there regarding cooking with rose oil.
She gave me this one and said to be very light with it as the flavor really will pop with just a few drops.
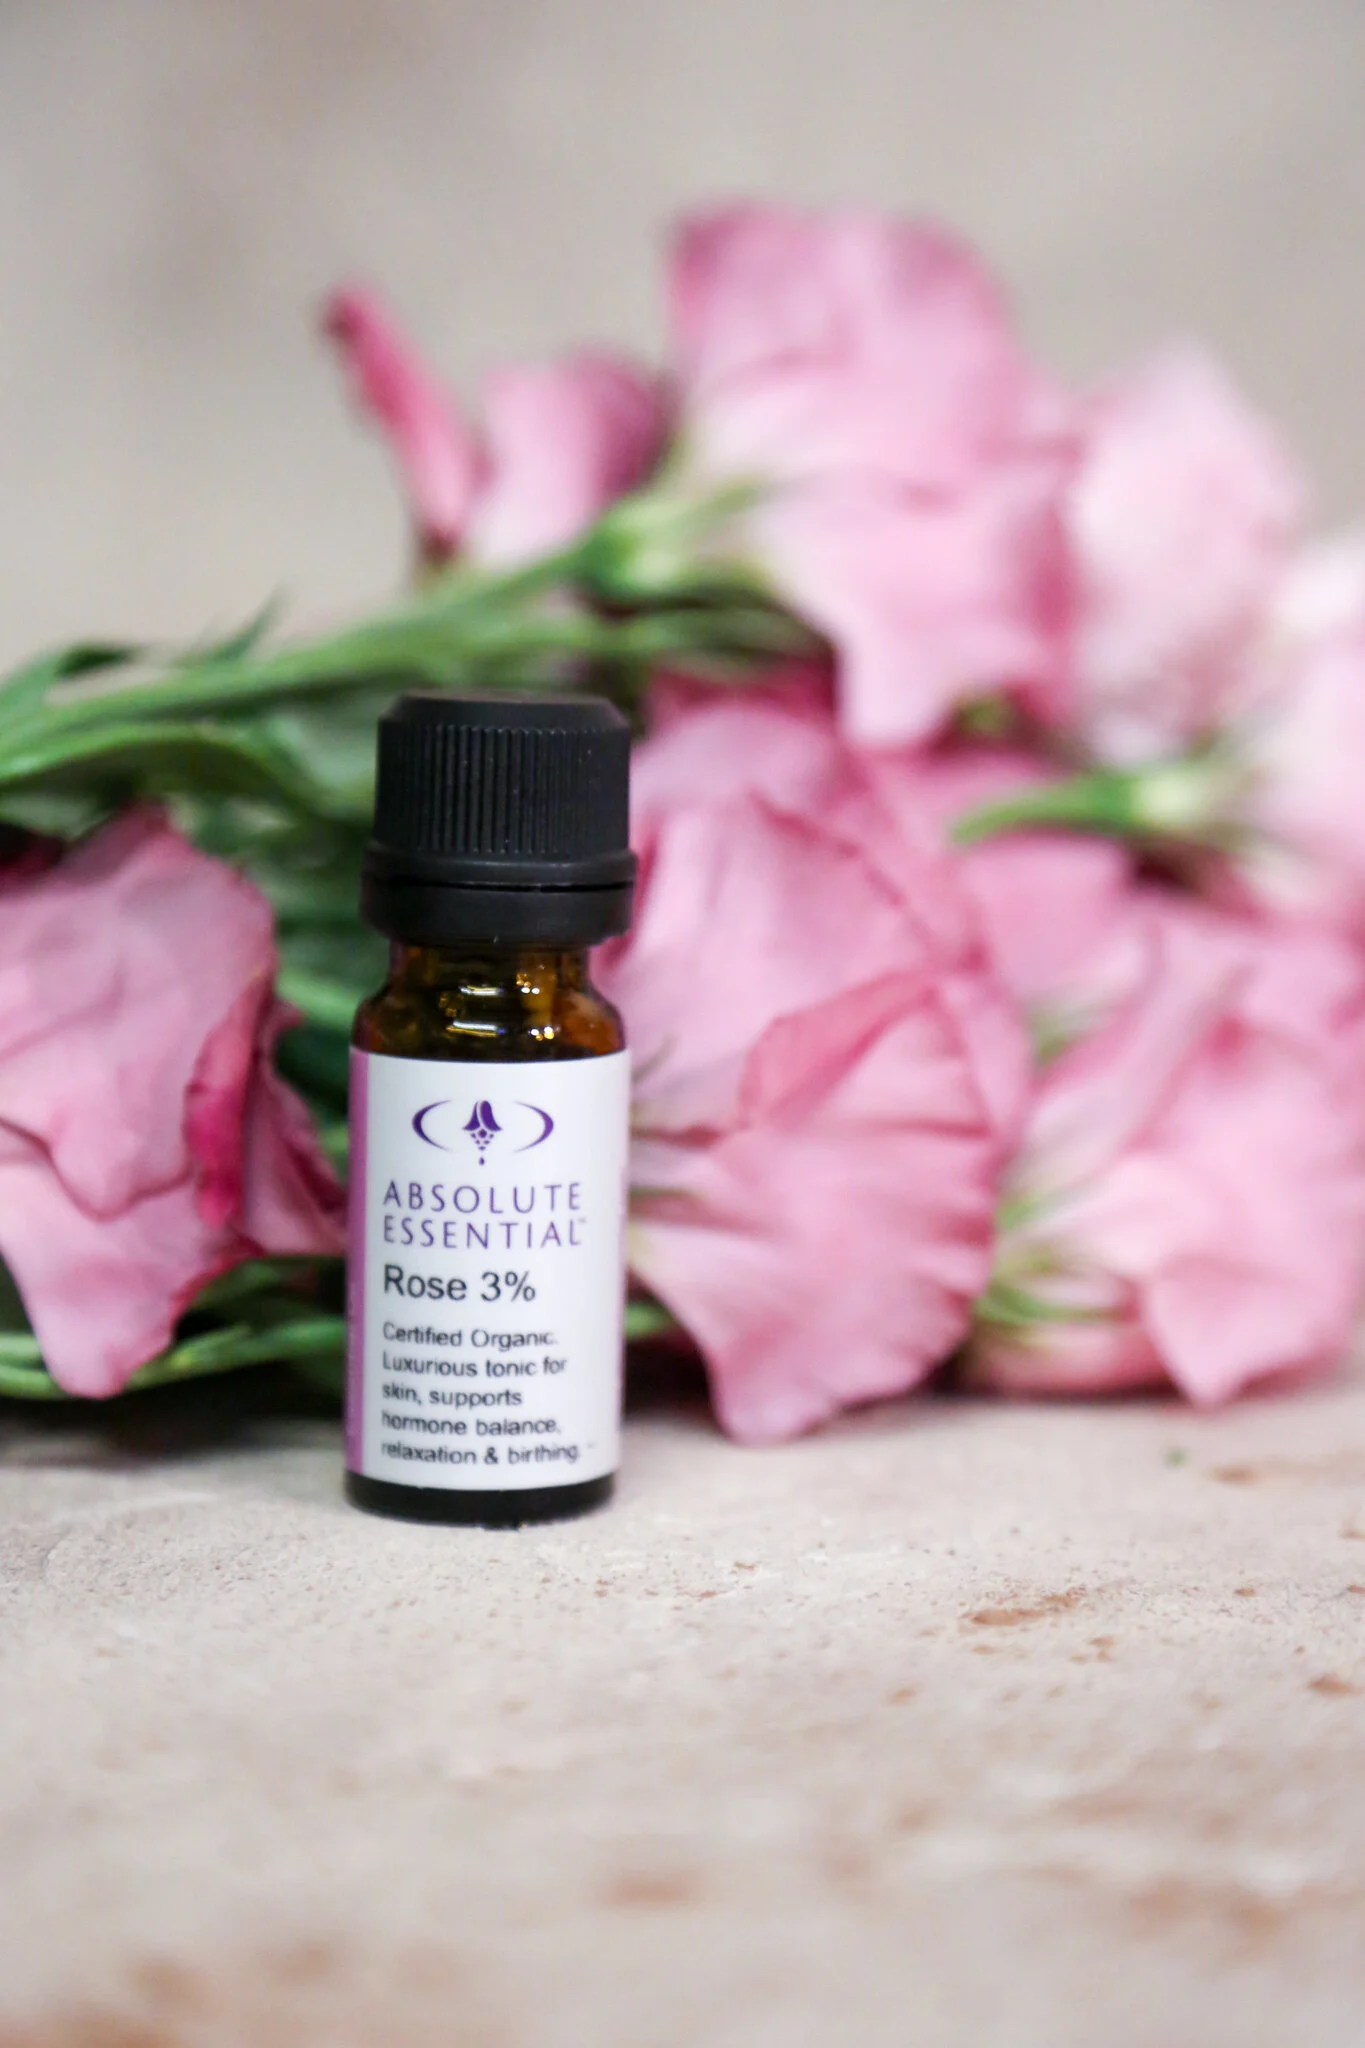
The recipe called for 5-10, which is pretty vague and quite a big difference, so I went for the middle and put in 7 drops.
It was perfect.
This chocolate recipe is by far the easiest thing I’ve ever made, however, there are some things you have to know when making it.
Don’t over blend.
We used our high-powered blender to get the mix going, but it was really struggling to cut through the ingredients.
We then shifted to the food processor with the mixer attachment and had much better luck.
Until…
We blended it too long and it heated up the chocolate. That’s when it separated from the coconut oil and we kinda freaked out.

Luckily, we salvaged it by leaving it out on the counter covered up overnight.
The chocolate cooled with the room temperature (we didn’t want to refrigerate it yet or else it would harden and be difficult to mix together again).
In the morning, we used a wooden spoon and just stirred until the chocolate was no longer separated.
Keep refrigerated until just before you serve it.
We were making this chocolate for a festival and totally forgot it would be sitting out on a table while people danced around and snagged a piece in passing.
The chocolate squares looked so decadent as it was adorned with petals and flowers, but after about 30 minutes, that chocolate was goooopy.
It was definitely still edible, but it was no longer a little bar of chocolate, it was a dollop of chocolate goo.
Don’t get us wrong, the flavor was still there and tasted exactly the same, but it left your hands a bit messier than if it had still be refrigerated.
So, keep the chocolate somewhere cool to cold until you’re ready to serve or you’ll need the wet wipes for people’s chocolately fingers afterwards.
Remind people not to eat the flowers and petals.
Unless you can find some tasty flower petals, let people know to remove the decorative flowers before eating the chocolate.
I’m sure you wouldn’t die if you ate some rose petals, but the flavor isn’t as nice as the chocolate, so don’t spoil the experience by forgetting to remove the flowers on top.
Although we had some struggles with our first attempt at chocolate making, we learned HEAPS about how to do it again more successfully.
We are so stoked with how the first batch came out that we’re going to absolutely nail it next time.
While it’s nice to post perfectly made recipes on your blog, I feel like more bloggers should be honest about what they do WRONG in their recipes so you either know what not to do OR don’t have to feel like you’ve failed when you mess up.
We’re all learning and growing here and I can’t sit here and pretend that I’ve got it all figured out.
I’m learning with you and I’m committed to sharing with you what I pick up along the way so you can avoid my mistakes or know you’re not alone in making them, too.
I hope you enjoy this rose chocolate recipe.
It’s super easy and satisfying, so make it for your next dinner party or friend’s birthday.
This is a special one and I think you’ll love it.
By the way, this recipe is:
Vegan (as are all of the recipes on this site)
Gluten-free
Nut-free
Delicious
Refined-sugar-free


ROSE CHOCOLATE
INGREDIENTS
1 ½ cups coconut oil
1 cup raw cacao powder
1 cup brown rice syrup
½ tsp vanilla extract
½ tsp Himalayan sea salt
7 drops of rose essential oil
Rose buds and petals to decorate
INSTRUCTIONS
Place all ingredients (except rose buds and petals) in a food processor with a mixer attachment.
Blend on the lowest setting. Stop the blender as soon as you see the ingredients have mixed together.
Remove the top of the food processor and check to see how much more the ingredients need to be mixed. Be SUPER careful about not over-blending like we did. If you do over-blend see tip #1 above.
Spread the chocolate evenly on baking paper in a rectangular or square pan or tin.
Refrigerate for a minimum of 30 minutes for the chocolate to set.
Remove the chocolate from the pan and cut into square pieces.
Decorate with rose buds and petals.
Serve and enjoy!
Note: Keep the chocolate refrigerated in an airtight container when you’re not eating/serving it. You can keep it refrigerated and edible for up to four weeks!